Thursday, December 3, 2009

Wing Tip

Build Hours: 1101

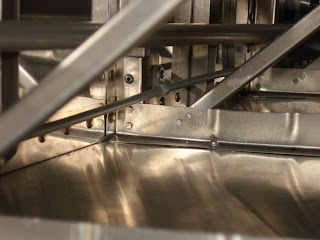
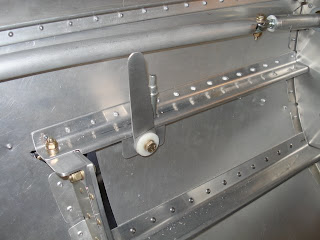
A few preparations for installing the wingtips.
Set the spacing on the wingtip aft rib.

We made a pattern from 1/4" Luan plywood the followed the wing rib profile. The plans pattern did not line up properly. The angles were also used to make sure we didn't droop the skins in the process.
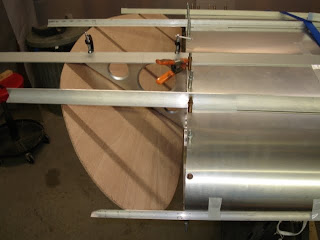

As always, a form is needed for forming the tip.
The first attempt was a form without flute positions. We formed the edges, removed the tip and then began the fluting process. The outcome was a very warped tip with unsightly fluting depressions.

The second attempt was to notch and bend the tip. The notches made the tip very floppy and difficult to fit and peaked out from under the skins at every opportunity.
We had the best success with the third method. We made fluting positions every inch around the form (except on the bottom from the spar position back). With the tip formed and fluted, it is much easier to fit.

(Add tip skinning and finish pictures here!)

Weighing the completed wing - tip and aileron attached - 29lbs.


Monday, November 16, 2009

Ailerons

Build Hours: 1080 Hrs.

Aileron Folding


One set ready for final fold.

Dowell to finish fold around.

Dowell taped in place.

When only the best equipment will do - a 2x4 hinged to the workbench.


Installed! Now wasn't that easy?


Wing Construction

Build Hours: 1080 (we're sloooooow)

Support the ribs while skinning.


Use the vacuum method to preform the nose skins.


Wrap fit and trim


The shop is maxed out!

A worm gear drive winch allows the planes to be swapped as needed or this is the beginning of The World's Smallest Airplane Museum.

Tuesday, July 21, 2009

Picture Day

Build Hours: Don't Matter
Rick

Charles


Tailsprings, Brakes, Pitot, Throttle

Build Hours: 997
Vacations and summer lethargy has slowed the progress. We have been finishing some of the details that are not covered in the plans. When the throttle and choke assemblies are routed into the engine compartment and the pitot is installed we will be back to the outboard wing sections.

This is a 3/16" plywood seatpan that keeps the spar from digging into the back of the legs.

We modified screen door springs from the Lowes Aircraft Dept. for the tailwheel springs. The springs allow some give if you touchdown with rudder input and with the springs in compression there is less chance of breakage.


This blurry little bracket was riveted in the rib corner of the 3 inner ribs to hold the brake cables in place. It would have been much easier to do this before skinning the wing:)

Example of the brake cable bracket installed. The pitot and static lines will be tie wrapped to the brake cable.

Brake cable entering wing.

This is the right brake.


...and the left brake.


This floor pan allows your feet to rest without sliding to the fuselage center bottom. The heel brakes seem to work well.


This is the parking brake assembly. Rotating clockwise approx. 8 turns will lock the brakes. A doubler was added to help the bulkhead take the brake cable loads.


This is the pitot-static tubes. Spruce sells a similiar setup but we had some 1/4" tube and a lathe sitting idle so...


The throttle and choke control is still a work in progress.